What Is a Move-In Inspection and Why Does It Matter?
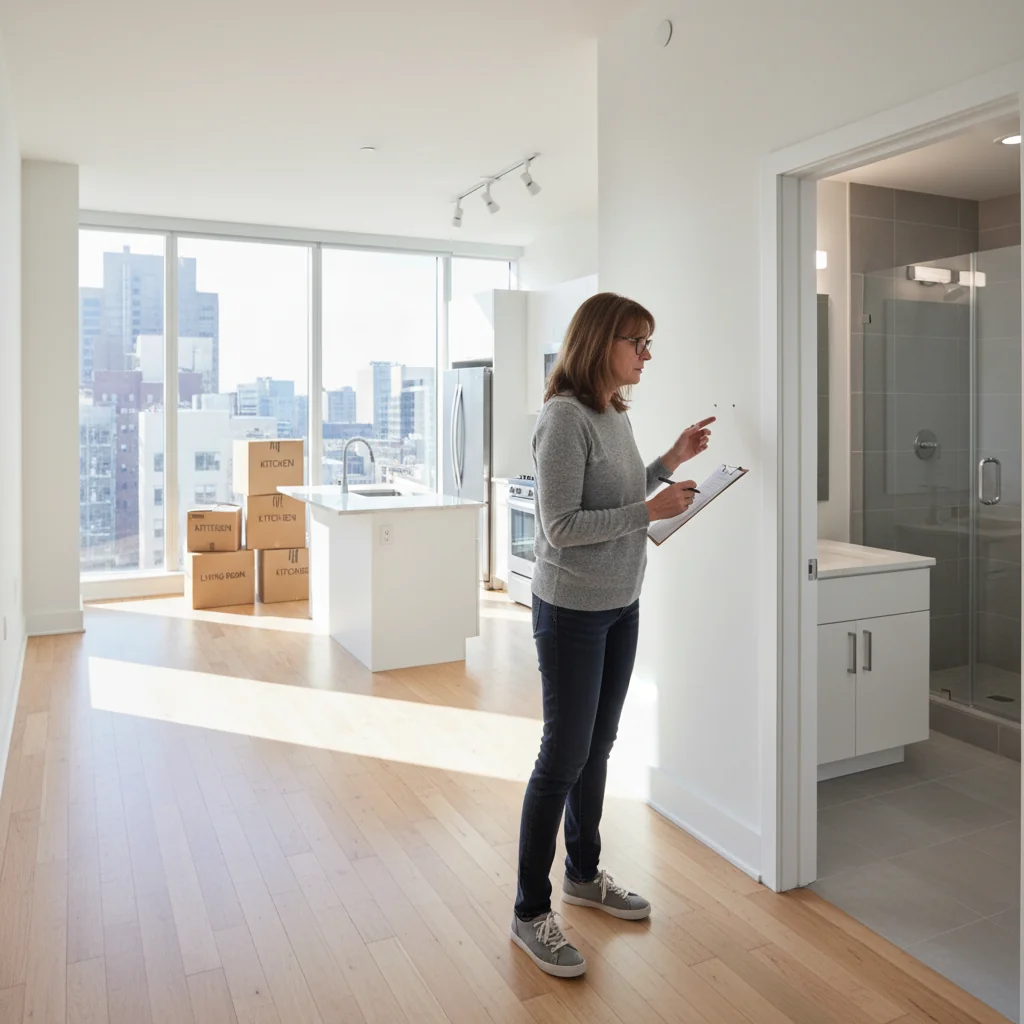
A move-in inspection is a crucial step for tenants and landlords in the US, where both parties jointly examine the rental property to document its condition before the tenant takes possession. This process helps establish a baseline for the property's state, protecting everyone's rights by creating an official record that can prevent misunderstandings later on.
During the inspection, note any existing damage, wear and tear, or defects in areas like walls, floors, appliances, and fixtures. Landlords and tenants should take dated photos or videos as evidence, which is especially important for safeguarding security deposits at move-out by distinguishing pre-existing issues from new ones caused during the tenancy.
Conducting a thorough move-in inspection minimizes future disputes, as state laws—such as those outlined by the U.S. Department of Housing and Urban Development—often require documentation to resolve deposit claims fairly. For a detailed guide, check the Move-In/Move-Out Inspection Checklist to ensure comprehensive coverage.
When Should You Schedule Your Move-In Inspection?
The ideal timing for a move-in inspection in the US is typically at or just before the start of the lease term, allowing tenants to document the property's condition without delay. This timing helps establish a baseline for any future disputes over damages, as most states permit or require inspections within this window to protect both parties' rights.
Legally, in most US states, landlords must provide an opportunity for a pre-lease inspection or one upon move-in, often within the first few days, as outlined in resources like the HUD tenant rights guide. While specifics vary—such as California's requirement for a detailed checklist—failing to conduct it promptly can complicate security deposit returns, so always review state-specific laws via authoritative sources.
Coordinating with the landlord or property manager is crucial; schedule the inspection at least 24-48 hours in advance to ensure availability and avoid rushed walkthroughs that might miss issues. Factors like coordinating schedules and taking thorough photos or notes during daylight hours prevent oversights and promote a smooth move-in process.
To enhance accuracy, consider using bespoke AI-generated legal documents from Docaro for customized inspection checklists tailored to your state's requirements, rather than generic forms. This approach ensures comprehensive coverage and legal compliance without the pitfalls of one-size-fits-all templates.
What Should You Bring to a Move-In Inspection?
1
Gather Essential Items
Pack a checklist, camera, notepad, and lease agreement. Use the checklist to mark off inspection points systematically for complete coverage.
2
Document Condition Thoroughly
Take timestamped photos and videos of the property's current state. Note any existing damage or issues in your notepad with details and locations.
3
Review Lease and Sign
Cross-reference the lease agreement with observations. Generate bespoke legal documents using Docaro for custom addendums if discrepancies arise.
4
Finalize and Secure Records
Discuss findings with the landlord, obtain signatures, and store all photos, notes, and documents digitally for future reference.
How Do You Conduct a Thorough Walkthrough?
Conducting a thorough move-in inspection for your rental property is essential to document the condition and protect both landlord and tenant from future disputes. Begin by reviewing the Move-In/Move-Out Inspection Checklist, which serves as a comprehensive guide for US rental properties, and take photos or notes of any pre-existing damage to establish a baseline.
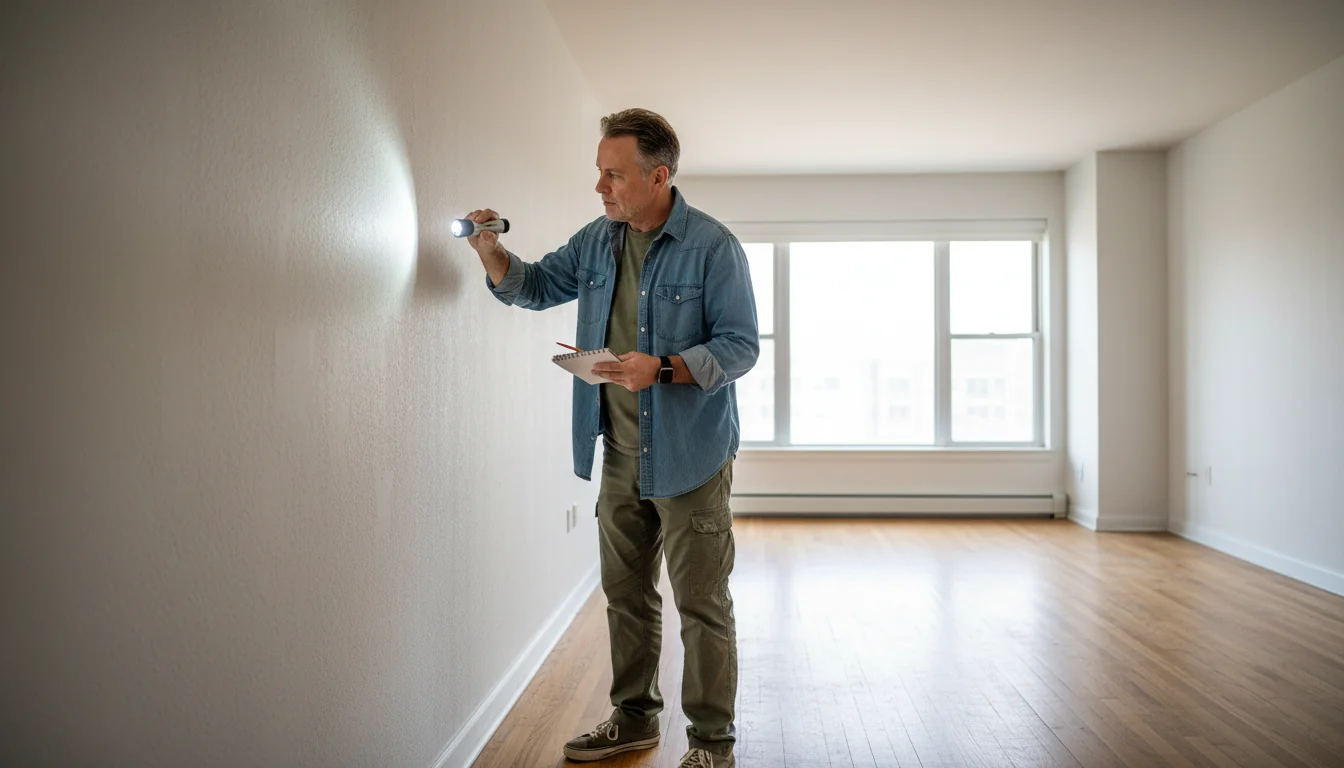
Start with the walls and floors, inspecting for cracks, stains, dents, or wear that could be mistaken for tenant-caused issues later. Next, examine appliances like the refrigerator, stove, and dishwasher for functionality and existing scratches, ensuring all are operational before move-in.
Check the plumbing systems, including sinks, toilets, and faucets, for leaks, clogs, or low water pressure, and test each fixture thoroughly. For electrical systems, verify that outlets, switches, and lights work without sparks or frayed wires, and confirm the circuit breaker panel is accessible and labeled correctly.
Finally, inspect windows and doors for proper sealing, locks, and smooth operation to ensure security and energy efficiency. According to the U.S. Department of Housing and Urban Development, documenting these areas helps enforce fair housing practices and avoids costly misunderstandings at move-out.
In rental property management, thorough documentation is essential for resolving disputes efficiently. Always photograph the property's condition before tenants move in to provide clear evidence if issues arise later. For customized legal agreements tailored to your needs, generate bespoke documents using Docaro.
How Can You Effectively Document the Inspection?
Conducting a thorough move-in inspection is essential for tenants and landlords to establish the property's baseline condition. Best practices include systematically walking through the rental unit, noting any existing damage or wear, and documenting everything meticulously to prevent future misunderstandings.
To document effectively, take timestamped photos and videos of all areas, including walls, floors, appliances, and fixtures, ensuring clear visibility of any pre-existing issues. Supplement these visuals with detailed written notes describing the condition of each room, such as scratches on doors or stains on carpets, using a standardized inspection form for consistency.
Both parties should review the documentation together and sign the report to confirm agreement on the property's initial state, creating a shared record that can be referenced later. This process ties directly into avoiding disputes by providing objective evidence, similar to strategies for move-out inspections outlined in How to Document Your Move-Out Inspection to Avoid Disputes.
For added protection, consult authoritative U.S. resources like the U.S. Department of Housing and Urban Development's tenant rights page, which emphasizes clear documentation in rental agreements. Consider using bespoke AI-generated legal documents from Docaro to customize your inspection report for specific needs.
What Are Common Pitfalls to Avoid During the Inspection?
Move-in inspections are crucial for tenants and landlords to document the rental property's condition and avoid future disputes. However, a common mistake is overlooking minor damages like small scratches or stains, which can lead to disagreements during move-out.
To fix this, both parties should conduct a thorough walkthrough, using a detailed checklist to note every imperfection. For authoritative guidance, refer to the HUD tenant rights page on property inspections in the United States.
Another frequent error is skipping proper documentation, such as not taking dated photos or videos of the property. This lack of evidence often results in unfair blame for pre-existing issues.
Improve this by immediately photographing and videoing all areas, then signing a joint inspection report. Consider using bespoke AI-generated legal documents from Docaro to create customized inspection forms tailored to your rental agreement.
- Schedule the inspection on move-in day with ample time.
- Discuss and agree on all noted items in writing.
- Keep copies of all documentation for records.
Overlooking Hidden Issues
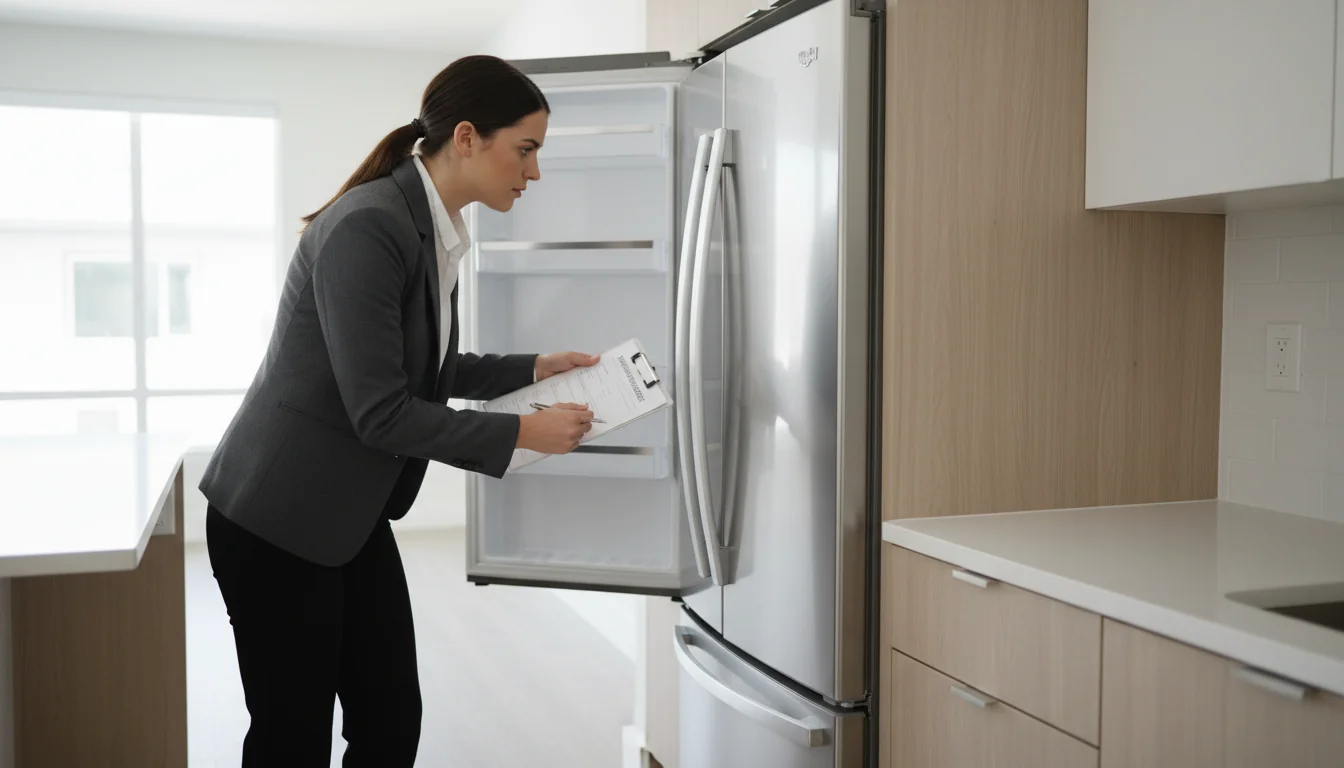
During a home inspection, identifying hidden problems behind appliances or in closets requires systematic checks to avoid future surprises. Inspectors should first unplug and carefully move appliances like refrigerators or washers, using a flashlight to examine walls, floors, and wiring for signs of water damage, mold, or pest infestations.
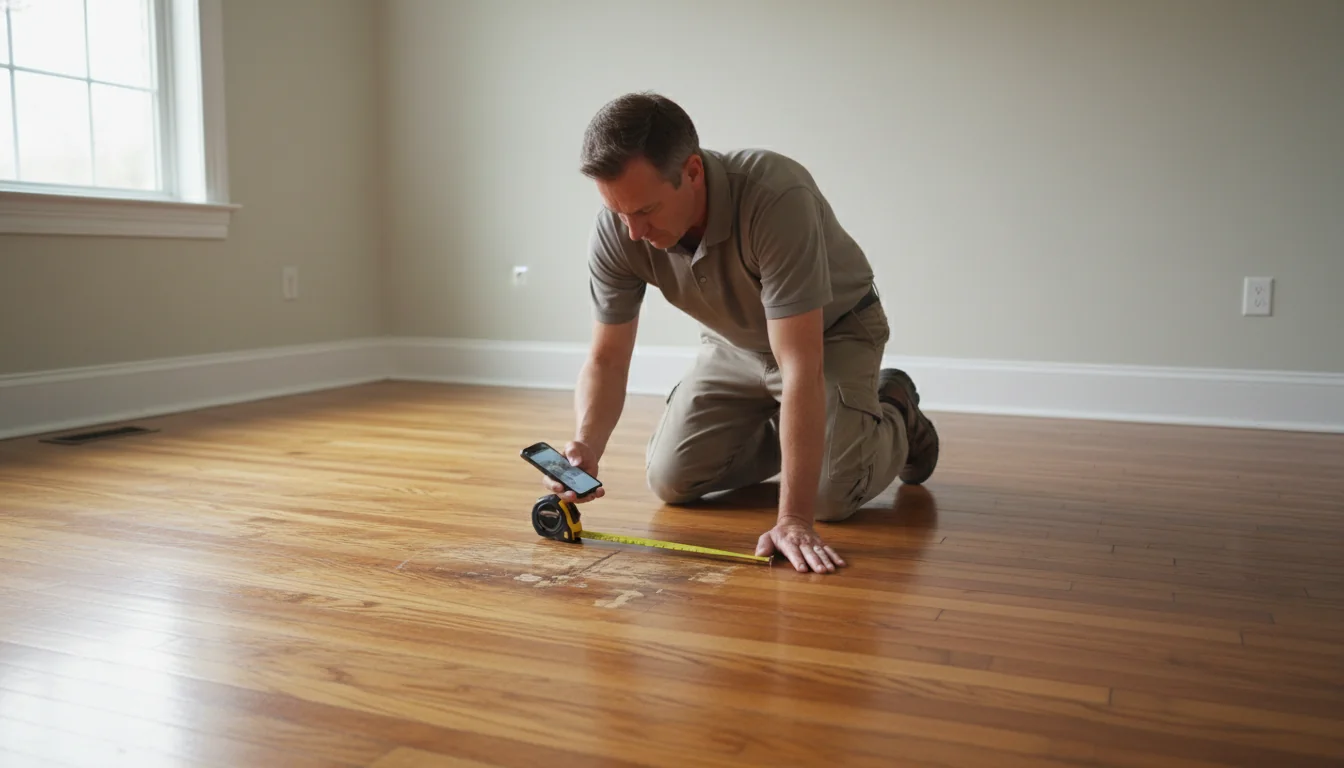
For closets, empty them completely and scrutinize the back walls, shelves, and corners for structural issues such as cracks, leaks, or hidden rot. Document these findings with detailed photos and notes, noting measurements and conditions to create a comprehensive inspection report that highlights potential risks.
To enhance thoroughness, use tools like moisture meters for damp areas and consult resources from the American Society of Home Inspectors for best practices in uncovering hidden defects. This proactive approach ensures buyers are informed and can negotiate repairs effectively.
What Happens After the Move-In Inspection?
After completing your move-in inspection in the US, the next step is to receive a detailed copy of the inspection report from your landlord or property manager, typically within a few days. This report serves as a crucial document outlining the property's condition at the start of your tenancy, helping protect against unfounded charges later.
Keep thorough records of the move-in inspection report, including photos, notes, and any communications, throughout the entire lease duration. These records establish a clear baseline for move-out inspections, allowing you to demonstrate any pre-existing issues and avoid disputes over damages.
For reliable guidance on tenant rights during inspections, refer to resources from the U.S. Department of Housing and Urban Development. Bookmark this guide at Essential Tips for Conducting a Move-In Inspection in the US for easy reference on protecting your rental experience.